


Table of Contents
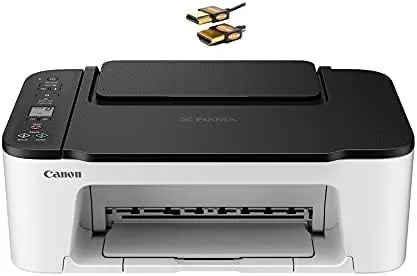
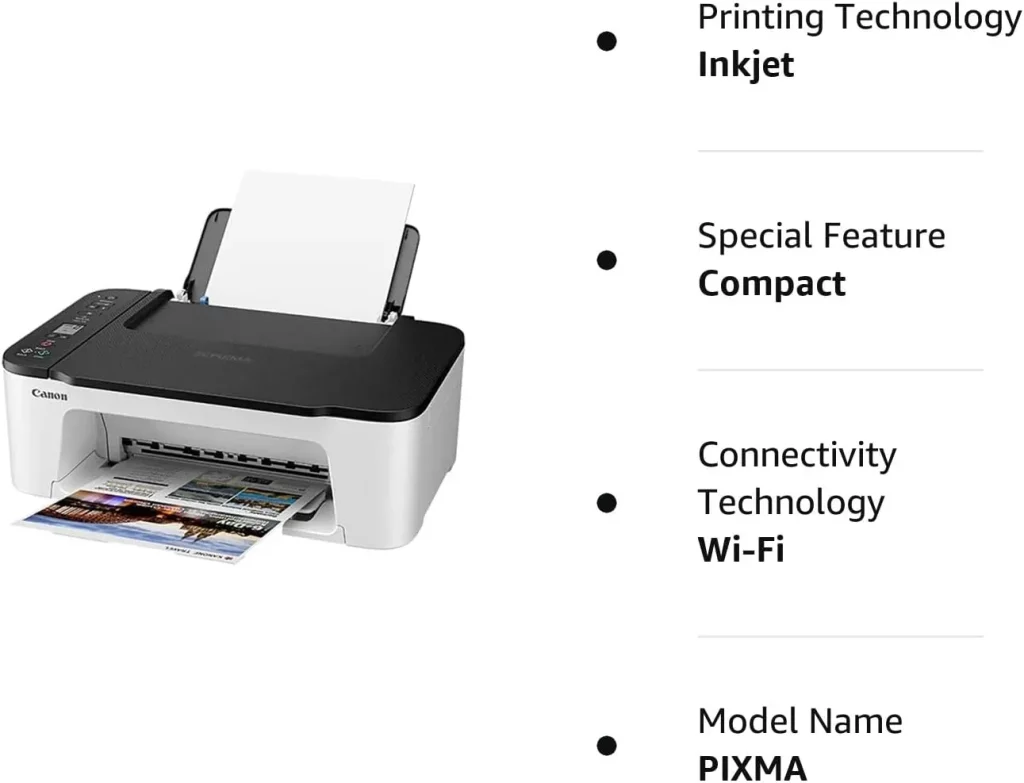
Getting started with a new printer can appear daunting, but setting up the Canon TS3522 Setup is straightforward whilst you comply with those step-by-step commands. Whether you need to attach through USB, WIFI, or Bluetooth, this manual will stroll you through the whole process of unboxing, assembling, putting in, connecting, and the use of your new Canon printer. Follow along for frustration-free printer setup and operation.
Unbox and Assemble the Canon TS3522 Setup
The first steps are unpacking the box and getting the physical printer ready to use.
Remove packaging
Carefully remove all plastic wrapping, tape, and packing materials from the printer. Locate and remove the various components from the box, including the printer, power cord, ink cartridges, sample paper, and manual.
Install ink cartridges
Open the front cover and carriage lid to expose the empty cartridge slots. Remove each ink cartridge from its packaging and gently press it into the correct slot, matching the color and label. Push firmly until each cartridge clicks securely into place.
Load paper
Open the rear paper tray and slide out the extension. Place a stack of plain white printer paper into the input tray until it stops. Adjust the paper guides flush against the stack.
Install software and drivers
For now, set the printer aside. The software and drivers will be installed once the printer is connected to the computer.
Connect the Printer to WiFi
Connecting the Canon TS3522 Setup printer to WiFi provides wireless printing and scanning convenience.
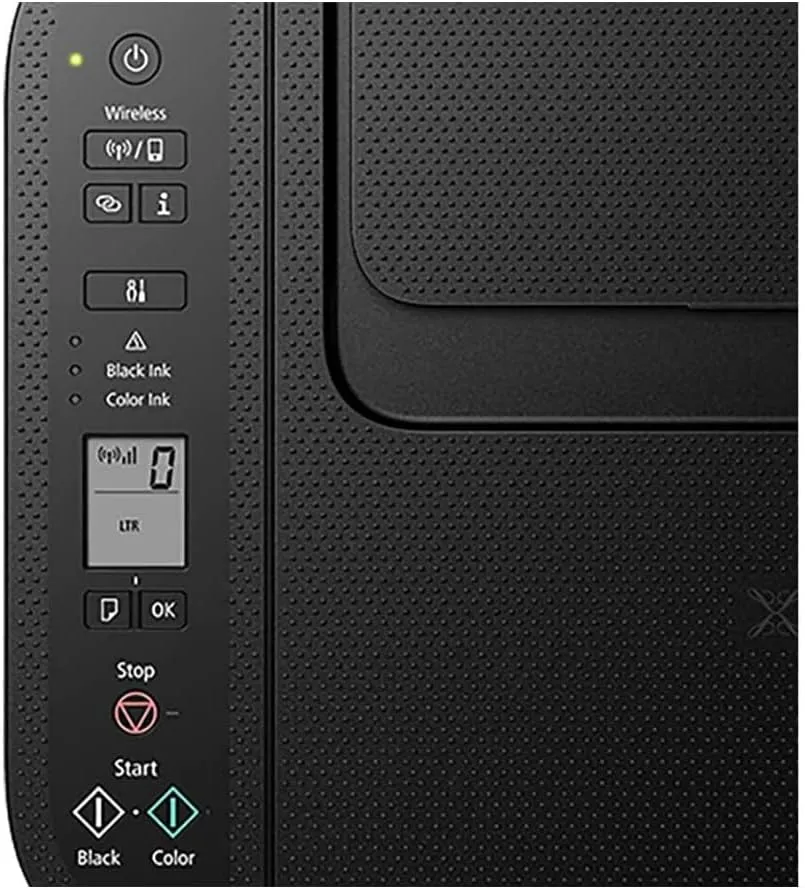
Access printer control panel
The control panel is located on the top front of the printer. Locate the home button and press to turn on the printer.
Select wireless setup
Select the Wireless icon, then choose Wireless Setup. Select Yes to begin wireless configuration.
Choose network
The printer will detect nearby wireless networks. Select your desired WiFi network name from the list displayed.
Enter password
Using the control panel, enter your network’s WiFi password when prompted. Press OK once entered.
Your Canon TS3522 printer is now connected to your WiFi network.
Connect Canon TS3522 Setup to Computer
With the WiFi setup complete, it’s time to connect the printer to your Windows or Mac computer.
Windows
Open the software CD on your Windows PC. Click to launch the installer. Follow the on-screen prompts to connect the printer.
Mac
Download the Canon printer drivers from the Apple App Store. Follow the prompts to add the printer to your Mac.
Install software
The setup wizard will install any additional Canon software and tools for scanning, faxing, photo printing, and more.
The printer will now appear in your list of available devices.
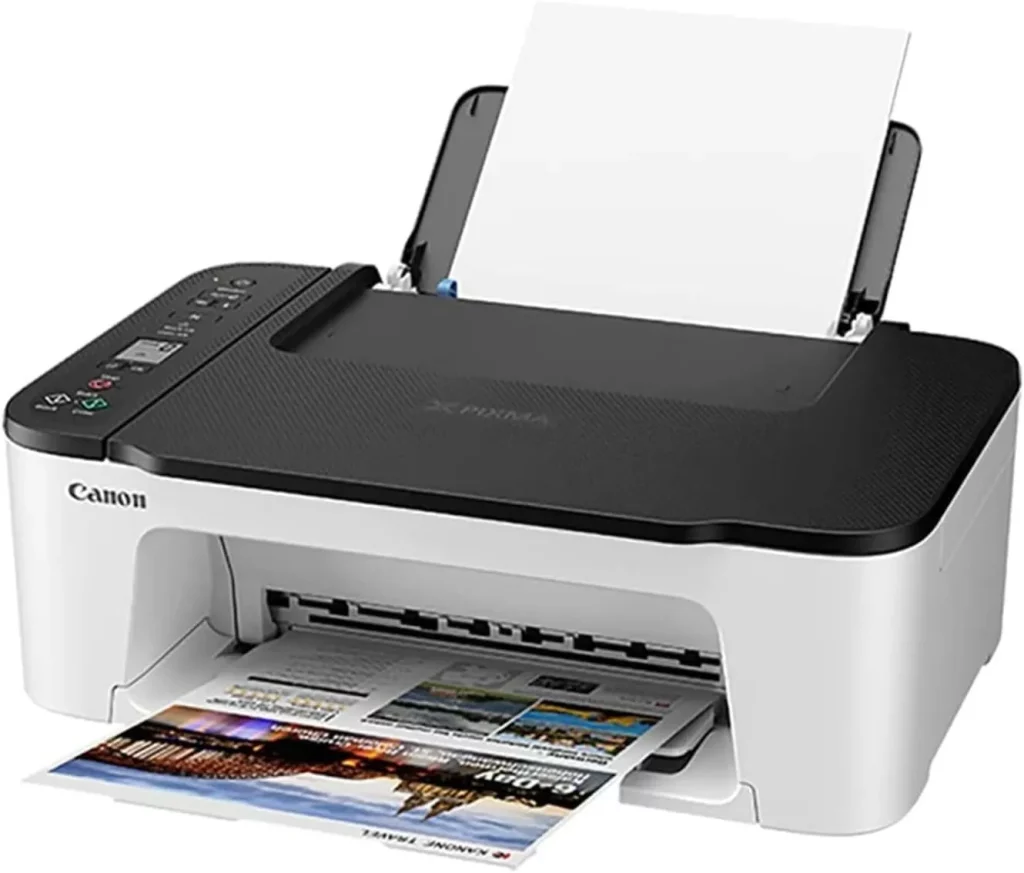
Print, Scan, Copy
Now that the setup is complete, your Canon TS3522 is ready for daily use. Here are some of the key features:
Print from computer
To print from a Windows or Mac application, simply select the Canon TS3522 printer from the Print menu. Adjust any settings and click Print.
Scan to computer
Place your document or photo on the scanner glass. Open the Canon scanning utility on your computer, select preferences, and click Scan. The file will be saved directly to your PC.
Make copies
Load paper into the rear tray. Place the originals face-down on the glass. Select Black or Color copy on the control panel. Enter the number of copies desired. Press Start to copy. Great post read about 71000013.
Table: Canon TS3522 Setup
| Step | Instructions |
|---|---|
| 1 | Unbox the printer and remove all packing materials. |
| 2 | Place the printer on a flat, level surface. |
| 3 | Connect the power cord to the printer and to an outlet. |
| 4 | Turn on the printer. |
| 5 | Open the paper tray and load paper. |
| 6 | Close the paper tray. |
| 7 | Install the ink cartridges. |
| 8 | Align the print head. |
| 9 | Connect the printer to your computer or network. |
| 10 | Install the printer driver software. |
| 11 | Test the printer by printing a test page. |
Maintain the Canon TS3522 Setup
To keep your Canon printer operating at peak performance, be sure to perform regular maintenance.
Cleaning
Wipe down the exterior with a soft cloth. Clean the scanner glass with an alcohol wipe. Use cotton swabs to gently clean inside the print head holder.
Cartridge replacement
When ink runs low, compatible Canon ink cartridges can easily be installed. Open the access door, press the cartridge in to release it, and lift out. Slide the new cartridge into place and close the cover.
Paper jams
If the paper becomes jammed, open all covers and trays to access the paper path. Gently pull out any stuck paper. Make sure no fragments remain. Close covers and resume printing.
Troubleshooting Common Issues Canon TS3522 Setup
If any problems arise, here are some basic troubleshooting tips for the Canon TS3522:
Connectivity issues
If the WiFi connection fails, retry the wireless setup. Or, connect via USB temporarily to update firmware and drivers.
Paper feed issues
Ensure the paper is loaded properly. Inspect rollers and remove obstructions. Clean pickup rollers with alcohol and realign paper guides.
Print quality issues
Check ink levels. Perform print head cleaning from the printer software. Wipe print heads and replace old cartridges if needed.
Final Thought
The Canon Pixma TS3522 printer delivers fast, high-quality printing in a compact and affordable package. Following this handy setup guide makes the process quick and frustration-free. In no time, you may be printing wirelessly from anywhere within the domestic or workplace. Just take it step-by-step to get your new printer up and running smoothly.
FAQs: Canon TS3522 Setup
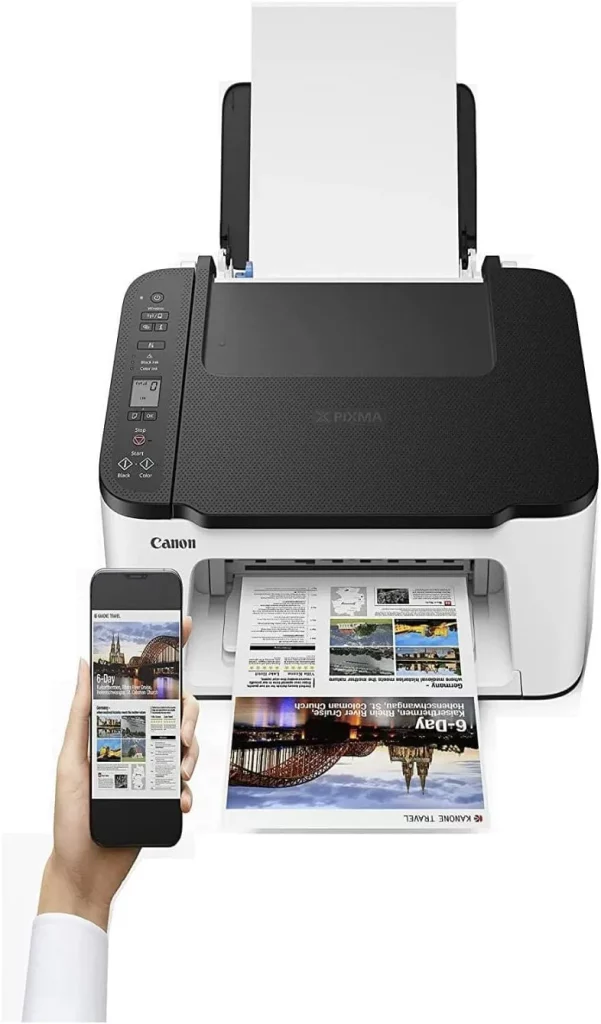
What types of devices can I print from?
You can print wirelessly from Windows PCs, Mac computers, smartphones, and tablets using the Canon print apps or Apple Air Print.
Does the printer support scanning?
Yes, the Canon TS3522 offers scanning right from the printer itself or from your computer using the Canon software tools.
What paper types work with this printer?
It supports plain copy paper, photo paper, envelopes, and various Canon specialty media up to 8.5″ x 11″.
How do I clear a paper jam?
Open all covers and trays, locate and remove jammed paper. Inspect the rollers and remove any debris before resuming printing.
How do I replace an ink cartridge?
Lift the front cover, press the ink cartridge down to release it, then lift it out. Slide a new compatible Canon cartridge into the empty slot until it clicks.